Having heard and read a lot about this system from Too Fat Lardies I was pleased to accept an offer from longtime friend and gaming partner Dave Schofield to visit him at his place near Bournemouth. He’d played the rules a couple of times and, being someone who can soak up and understand rules quickly (quicker than me, anyway) he was the ideal person to give me an introductory game. I read the rules a few times in the weeks before the game and, true to form, didn’t really grasp how they may work.
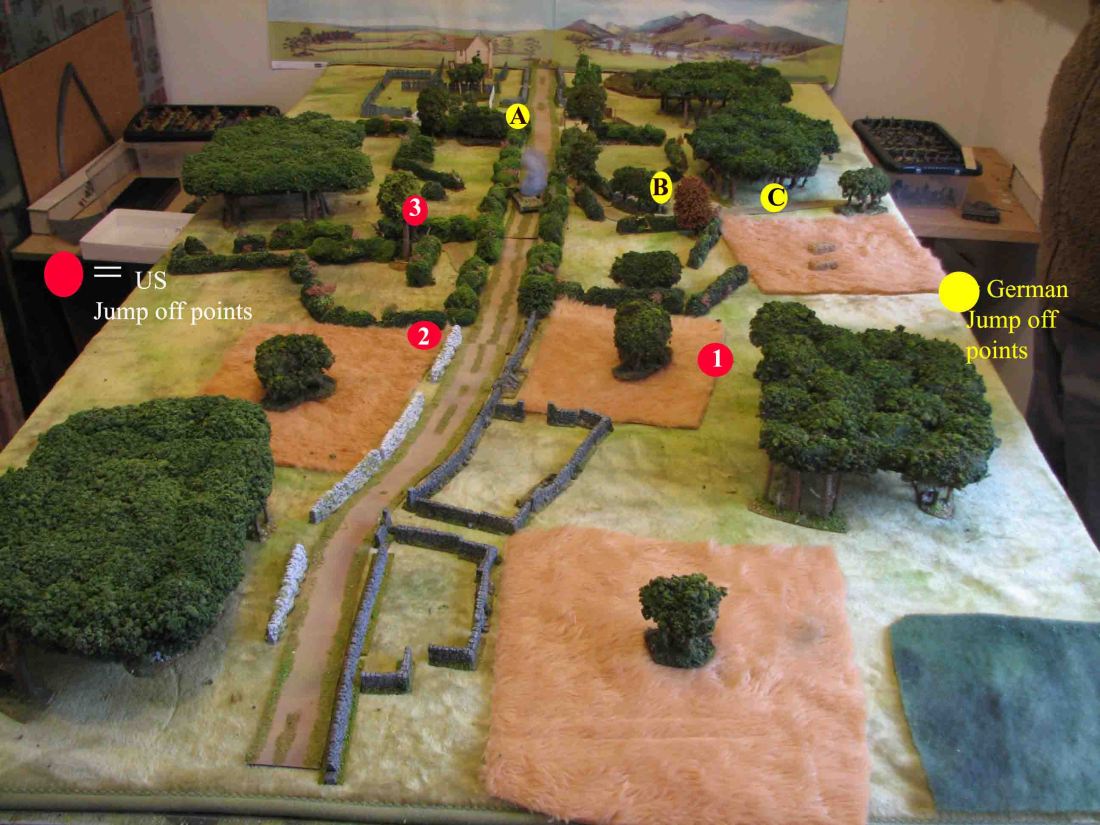
A couple of days before the game, Dave sent me some pics of the layout with an outline of what the scenario was – very efficient..!
I arrived and, once I’d found my way into his very impressive wargames sanctum (complete with every necessary convenience for the comfort of the Gentleman Gamer), we settled down to the game.
As an aside, Dave has done a lot of innovative work on his scenery including his lift off woods which give an excellent tree canopy effect but can be lifted of the supporting tree trunks so that troops can be easily placed and moved within the wood area.
Anyway, back to the game. It was US vs Germans, Normandy 1944. I had the US, a platoon of 3 squads plus support and he had a German platoon of similar strength. The game kicks off with the Patrol Phase. Each side has Patrol Markers (counters or some other marker), the number of which depends on the scenario being played and force morale. The scenario we played was the Patrol (it’s just a coincidence that the name of the scenario is the same as the markers and shows how easy it is to use confusing terms in wargames rules). These markers, usually 3 or 4 per side, are moved in turn by the players to establish “jump of points” for the deployment of the forces. They’re moved until the relative positions of opposing markers cause them to be pinned at which stage, jump off points are decided. These are marked by something unobtrusive such as an oil drum.
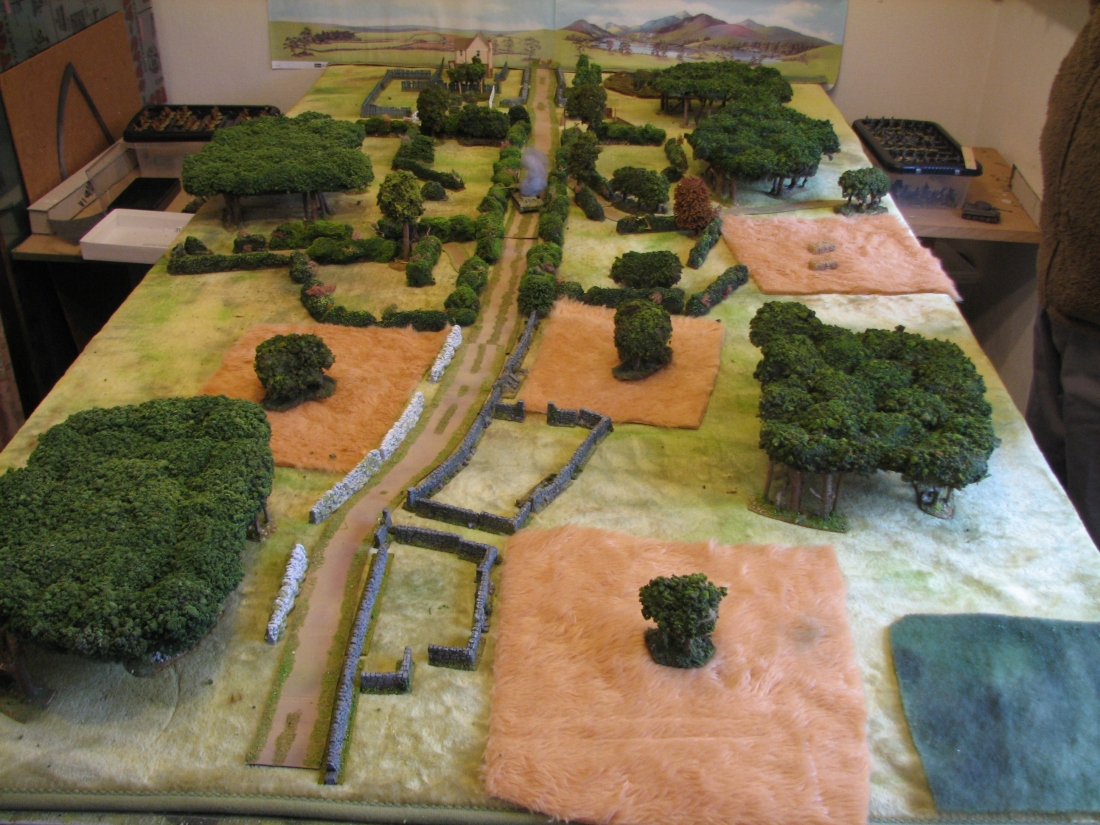
From now on, I’ll leave aside the rule mechanics and just describe how the game went, mainly from the perspective of the UScommander (me). The US were on the left of the photo above, the Germans the right. Both deployed in the centre of their baseline. Jump-off points, established during the Patrol Phase, are shown below:
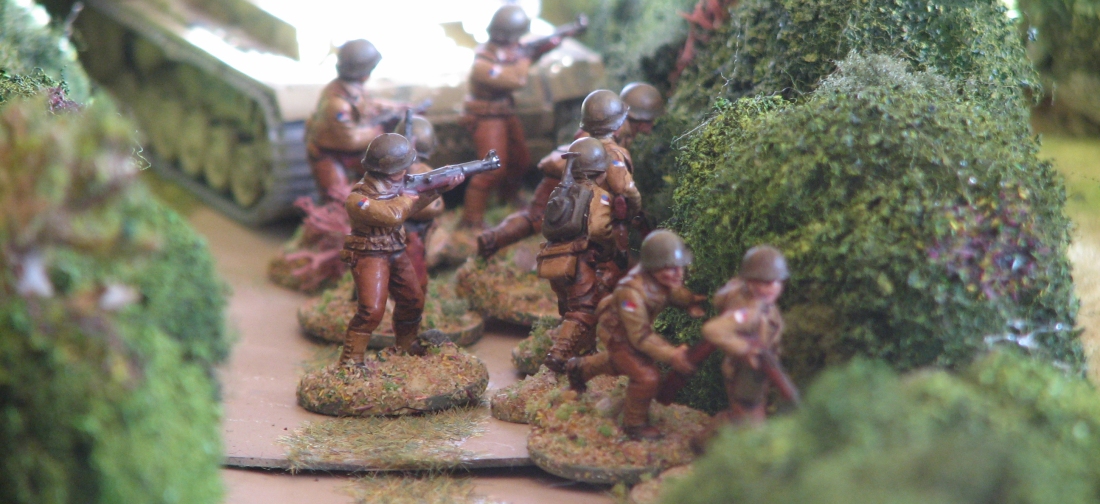
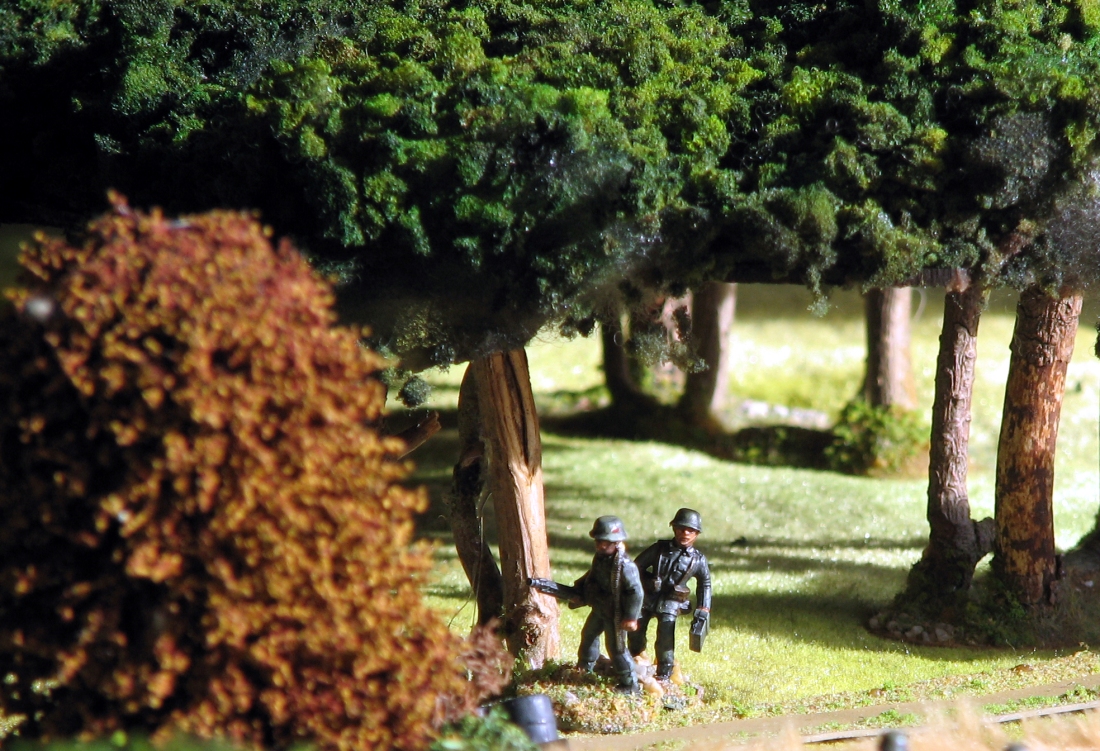
The US had first Phase and brought on a section at JOP (Jump-off point) 1 and moved it towards German JOP C. It quickly encountered a two man German patrol
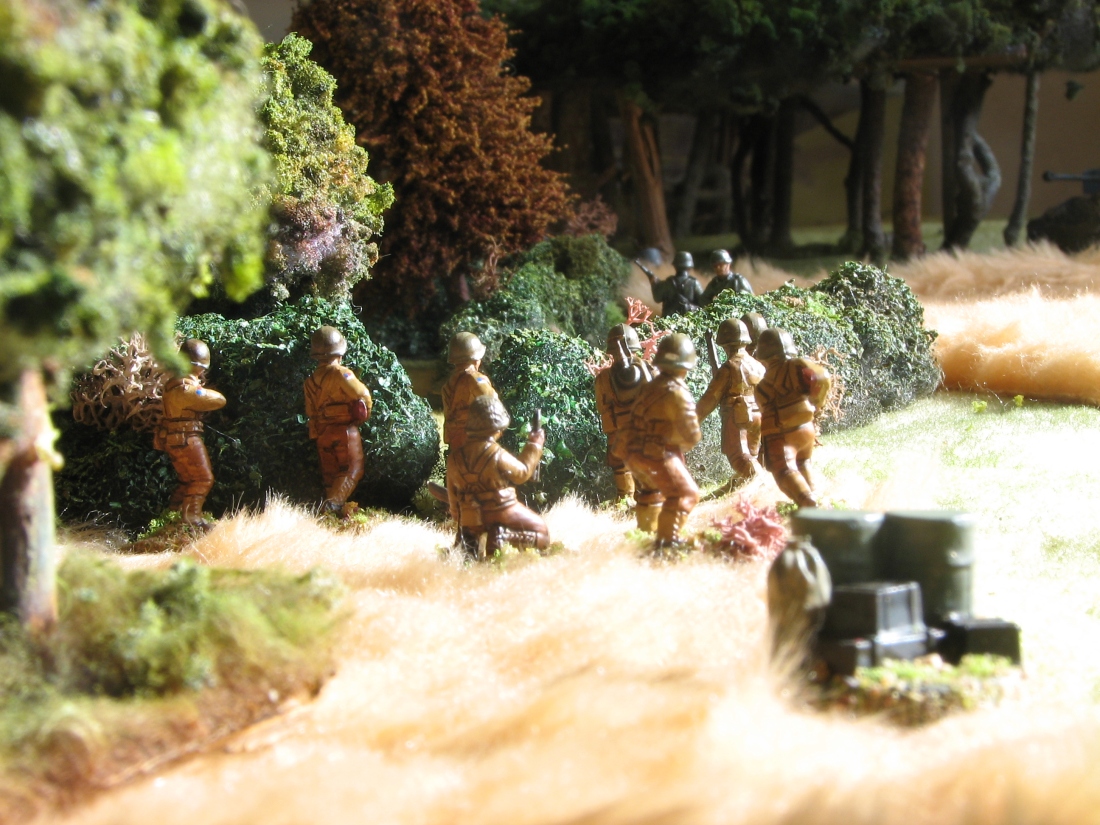
The German patrol was targetted by the section’s rifle team (the BAR team having taken up a flanking positon in a wood) and one man was killed. The other was pinned but not killed.
Next, the US second section deployed in the centre in an attempt to command what looked like being the main action area.
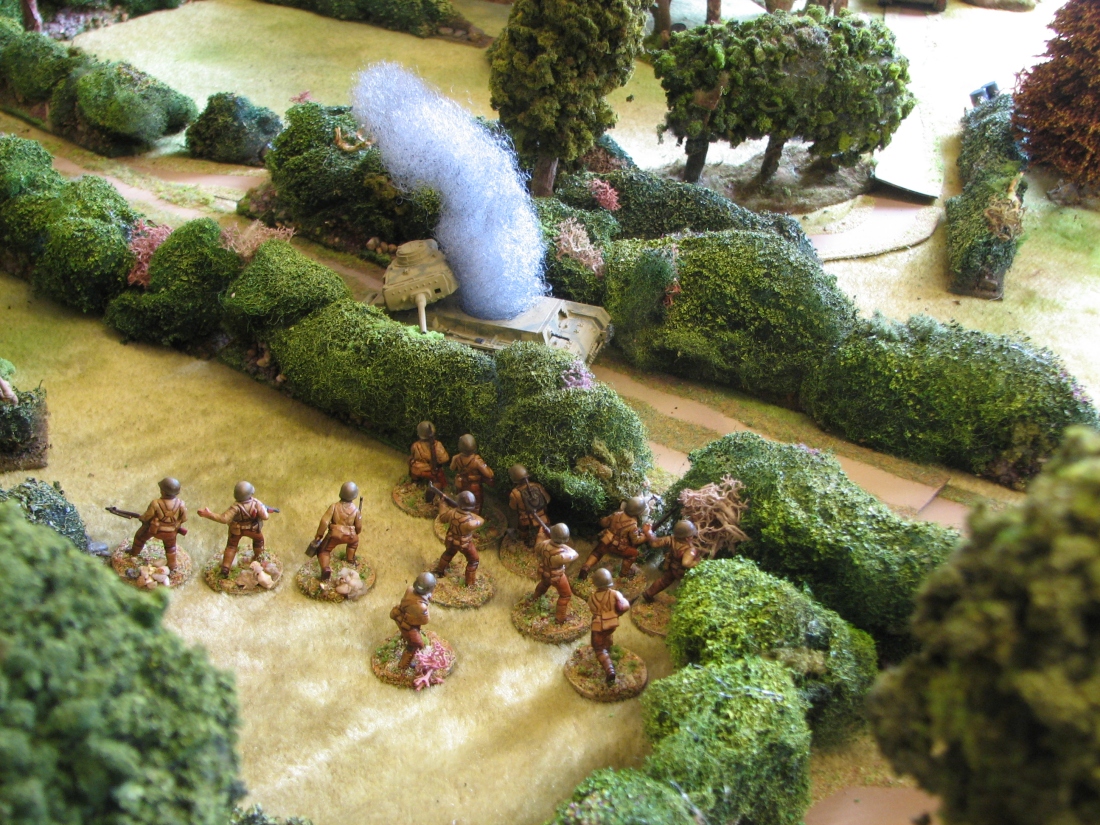
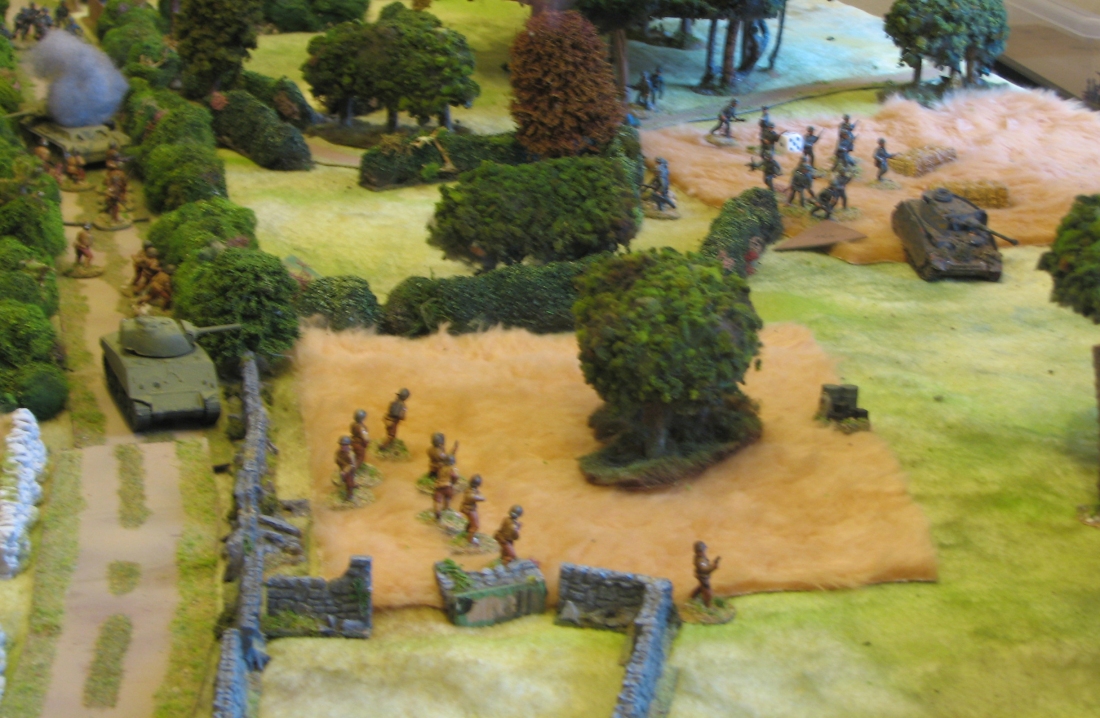
Meanwhile, the Germans deployed a Panzer IV. Armour is deployed at the table edge – not from a JOP. This beast moved menacingly towards US first section who, without any a/t weapons apart from last-ditch, close assault bombs, were in a tricky position. The German patrol, however, must have welcomed the tank as its saviour…!
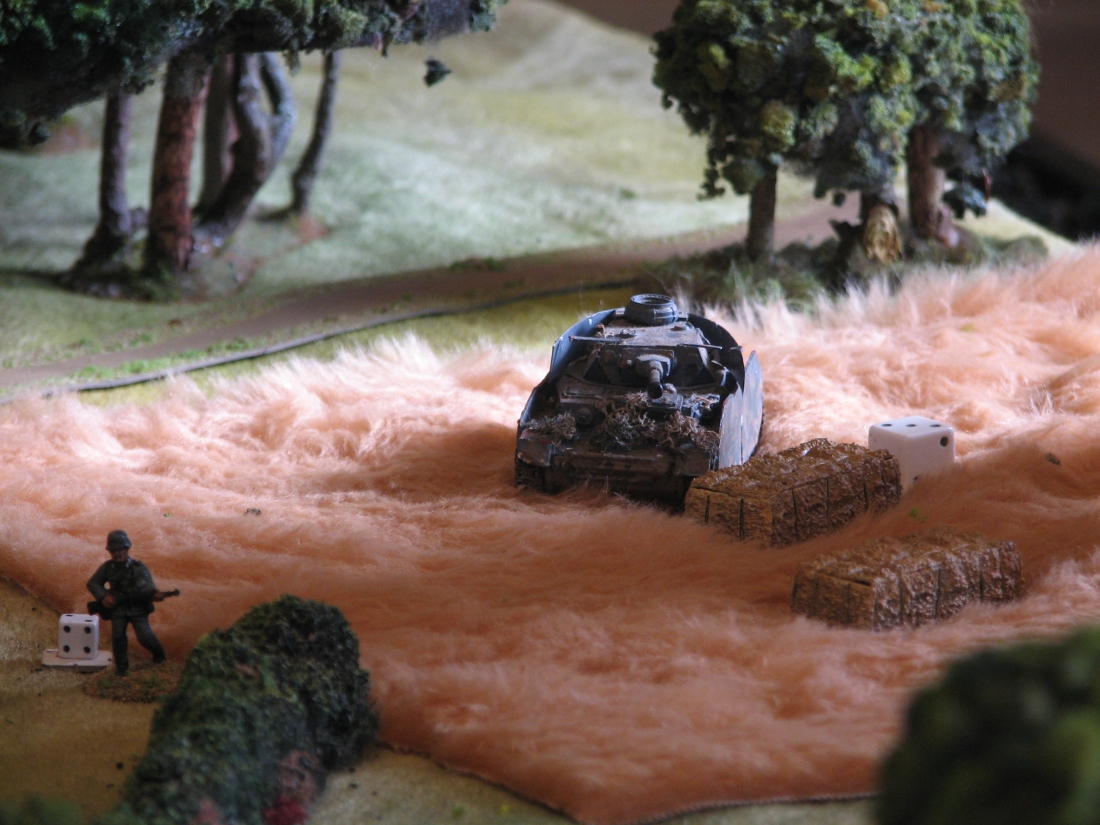
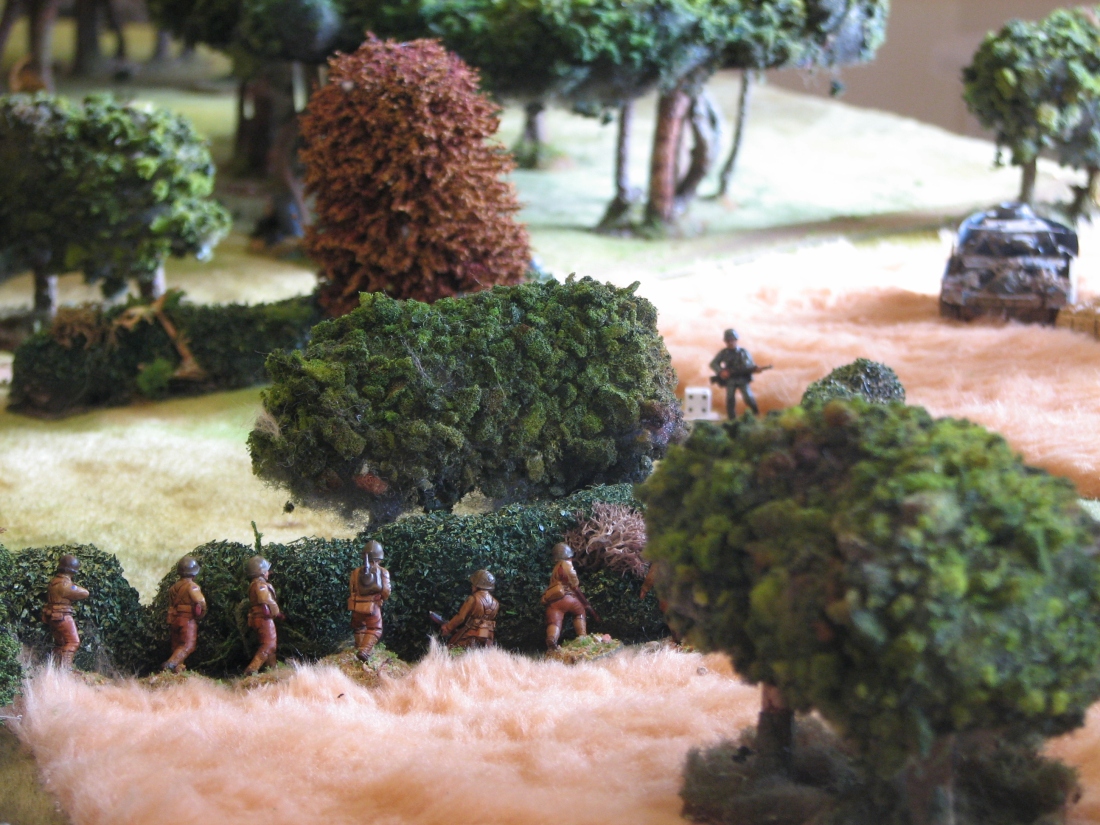
Meanwhile, the second section advanced in the centre to the main road.
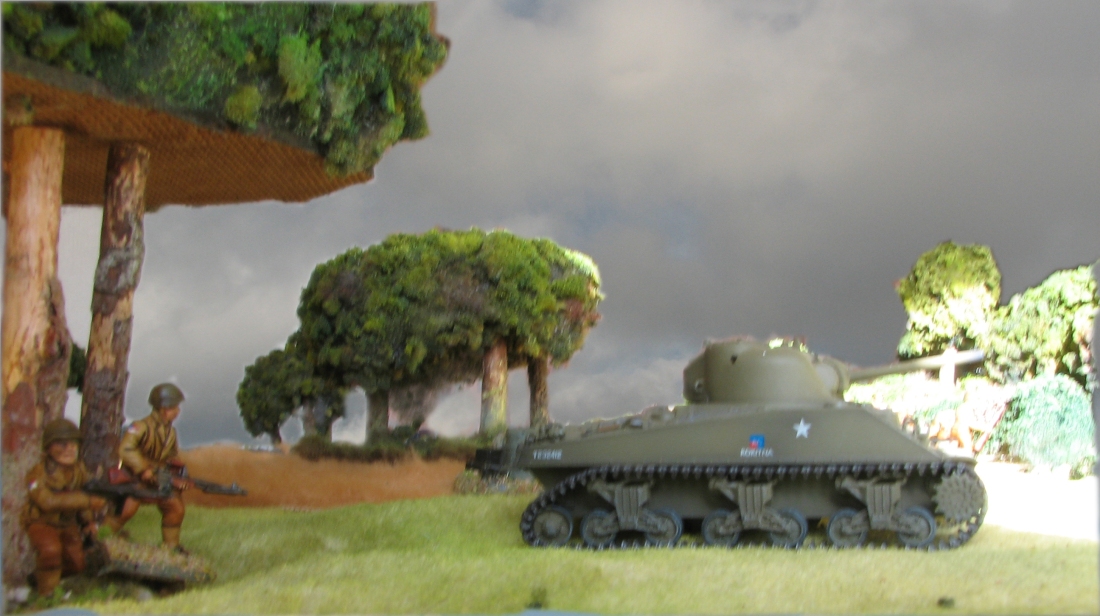
Relief for the first section appeared in the shape of a Sherman which made best speed to support the infantry in the face of the German tank.
The Germans laid down smoke to conceal the Pz IV and cover the advance of newly deployed infantry. Their senior commander also moved on-table.
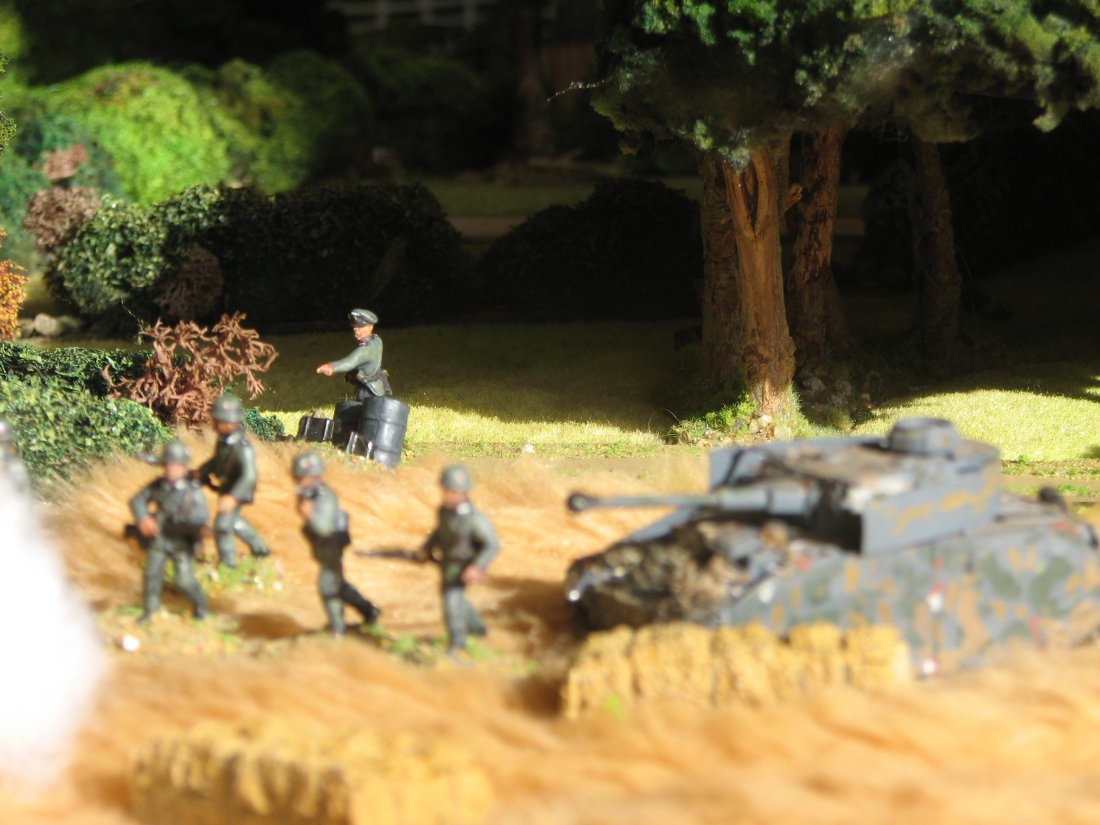
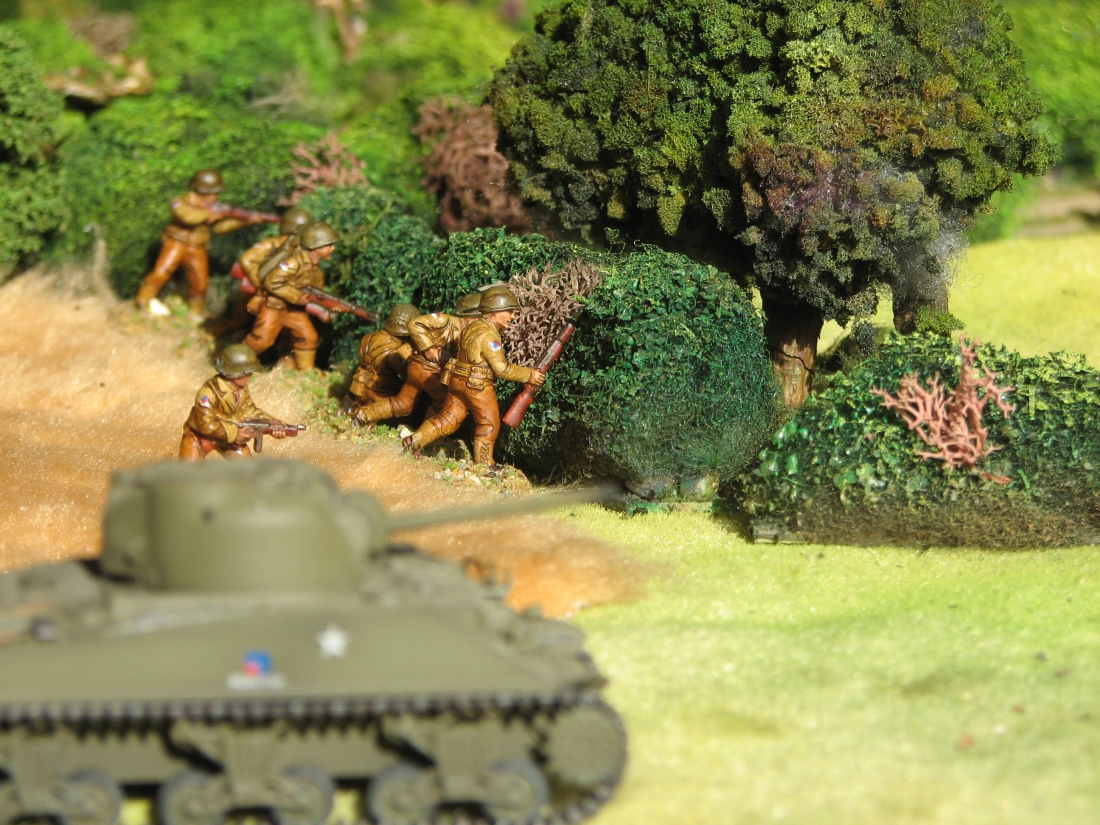
More German infantry arrive in the shape of an MG42 team. They take up position covering the fields and hedges in the centre and engage the US second section.
Meanwhile, the Sherman supporting the first section manouvers round the smoke and engages the PzIV. And misses…! The German replies with devastating effect, knocking out the Sherman and leaving the first section unsupported once more.
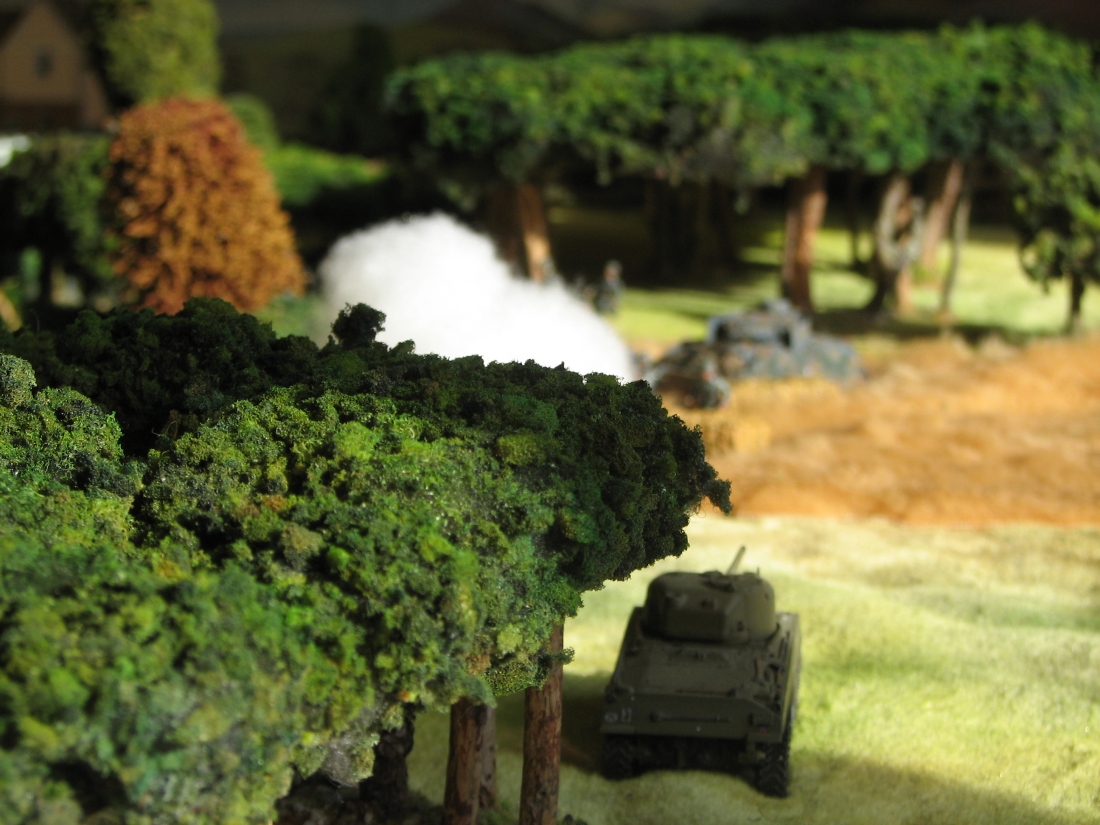
More German infantry deploy in the centre leaving a holding force opposite US section two. The rest move to their left flank to threaten US section one, now left without armoured support.
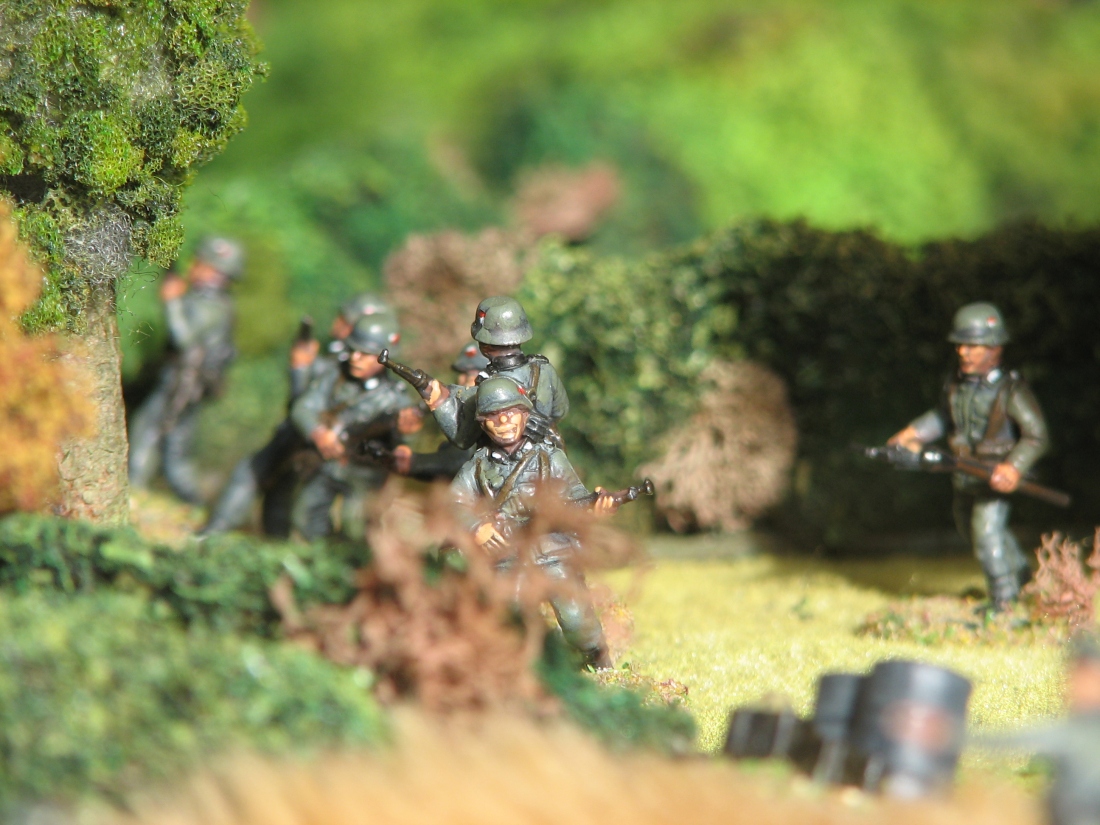
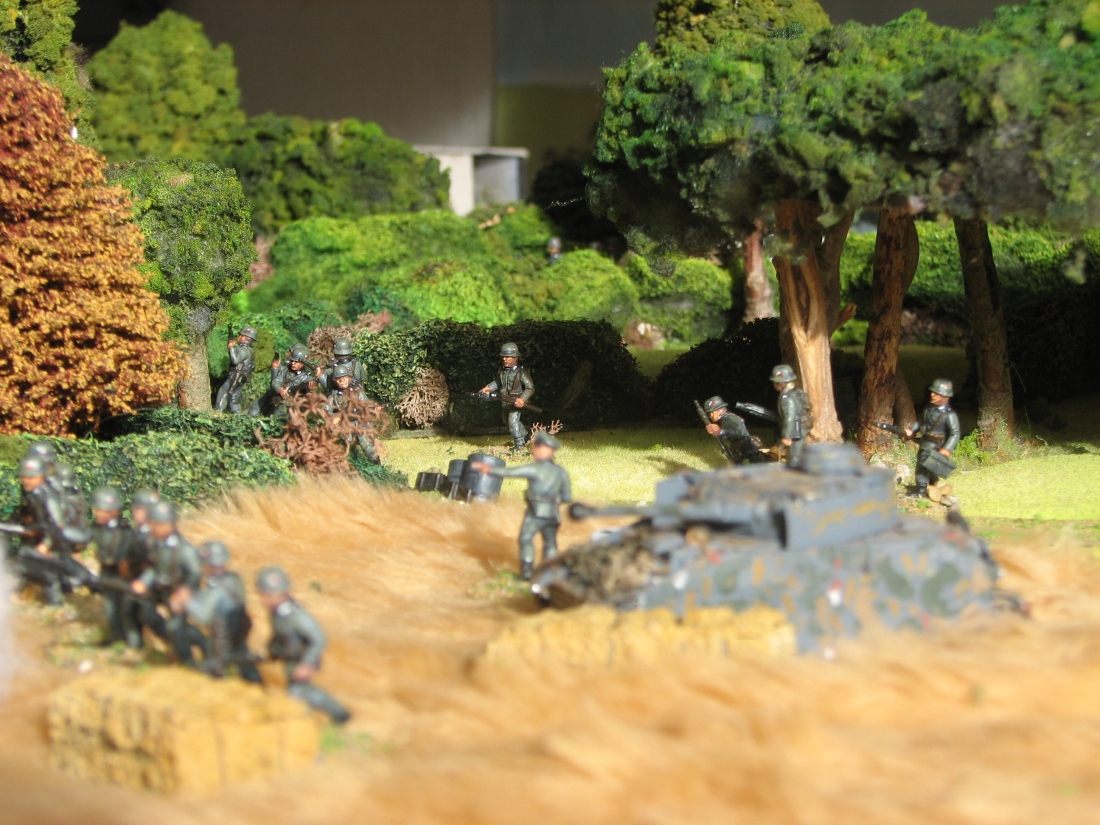
German scouts appear to the left of the Americans so the senior US officer deploys his third section to counter them. In turn, the Germans reinforce the scouts with a complete section.
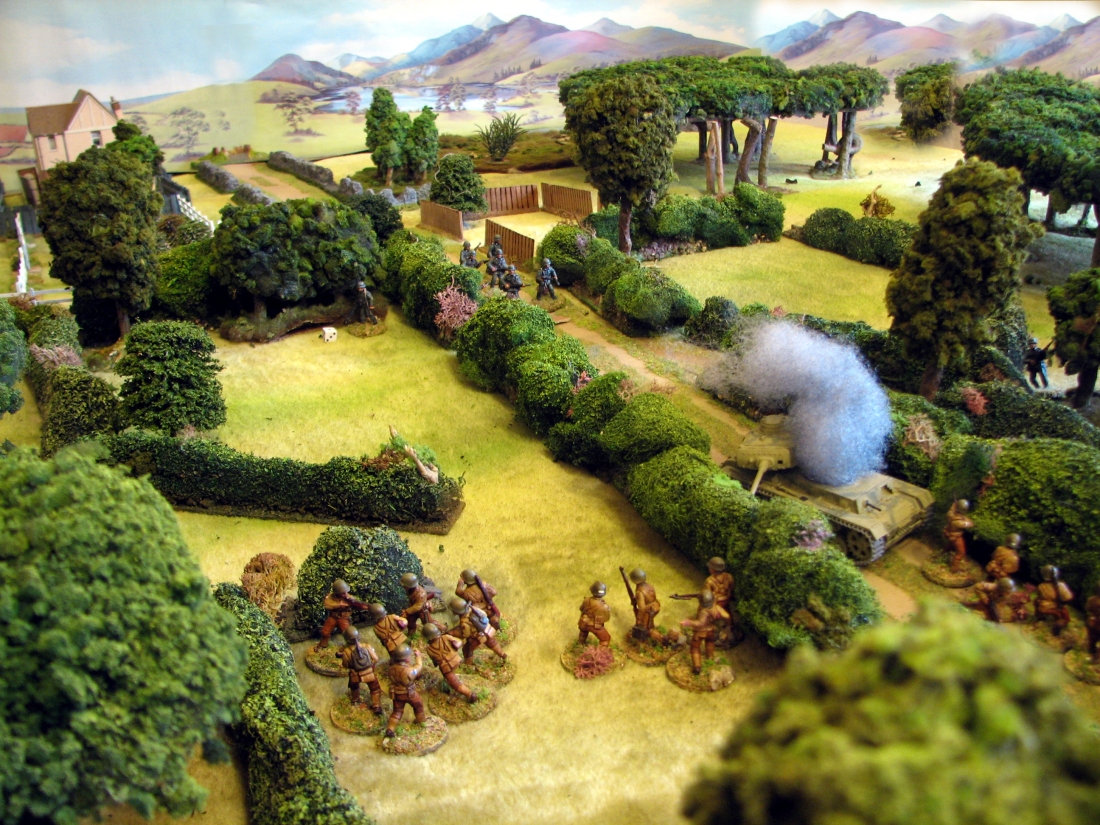
In a desperate attempt to save the first US section, the platoon bazooka team springs an ambush on the PzIV…
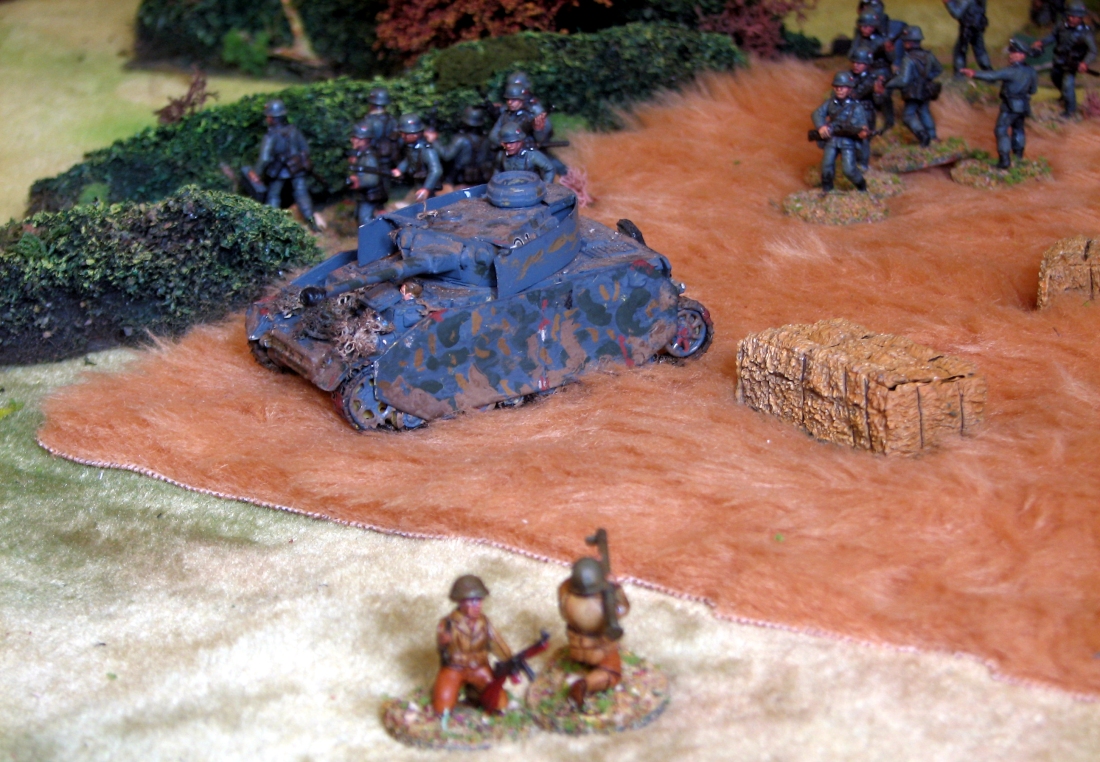
………but this tank is a tough nut to crack. The ambush fails but the bazooka team make good their escape. Not so the first section’s BAR team which is destroyed by the tank.
Left without effective anti-tank support and no BAR, the first section retreats to the cover of the main road. A second Sherman arrives to give them support.
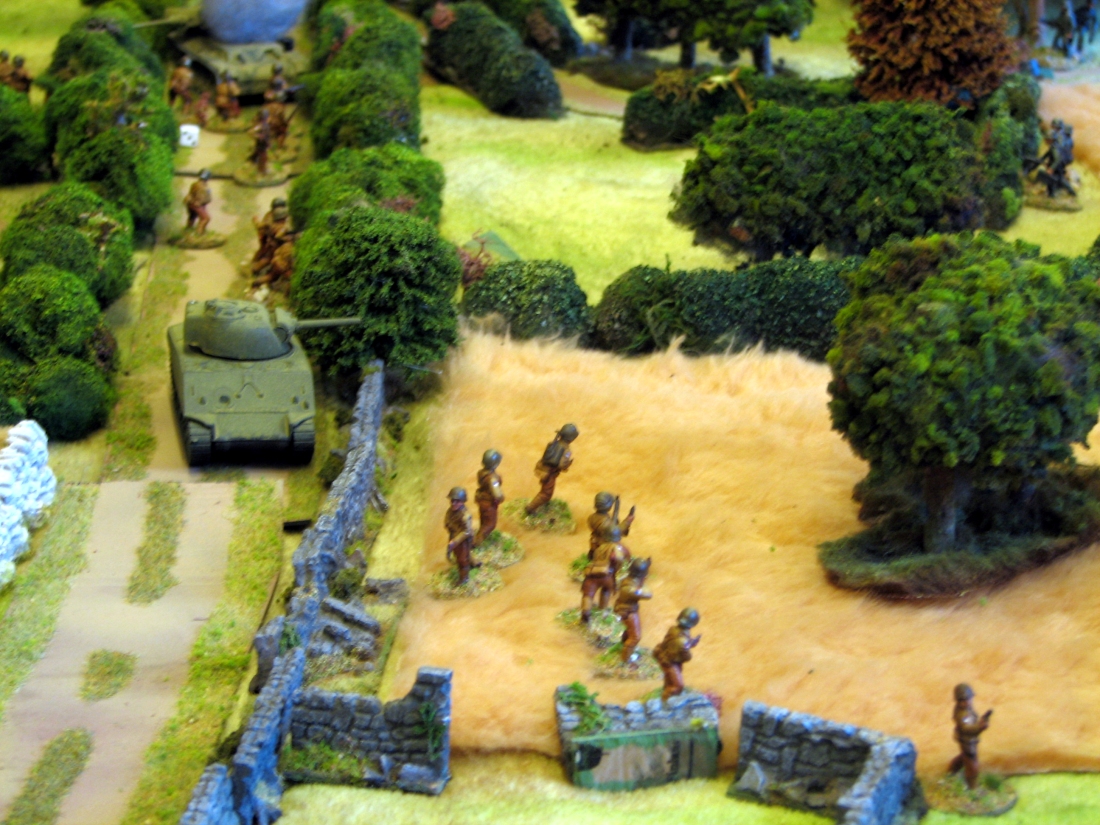
The German flanking move presses forward against the first section.
The second Sherman engages the Pz IV and hits but with no discernible effect. Once again, the PzIV replies with savage efficiency and another Sherman is destroyed.
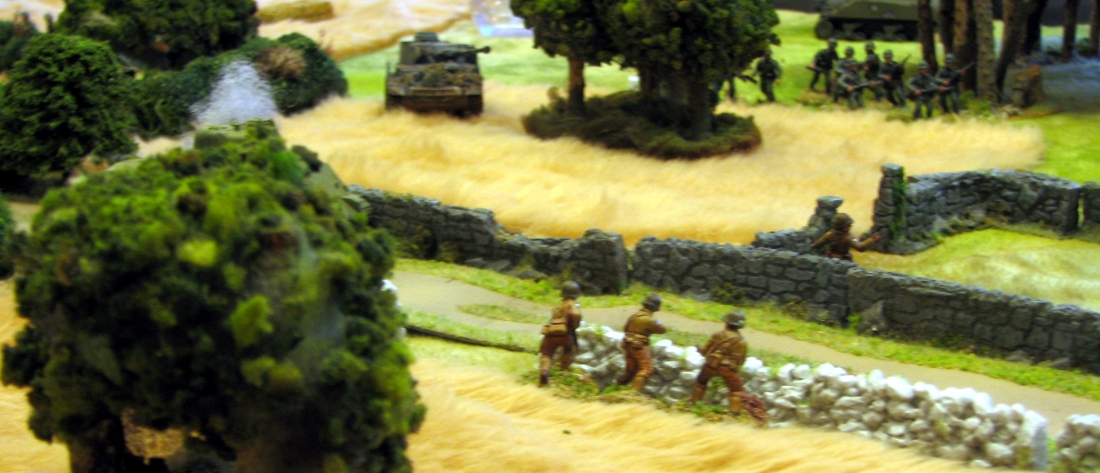
There is a moment of hope for the first section when the platoon bazooka team makes another ambush at very close range but, depsite an obvious hit, the panzer appears unaffected. And this time, the bazooka team pay the ultimate price.
With the German tank and its support infantry at close range, the US men of first section make a last attempt upon the tank with anti-tank bombs. Although they bravely engage at close-quarters, the tank survives once more and so the US commander orders his platoon to retreat.
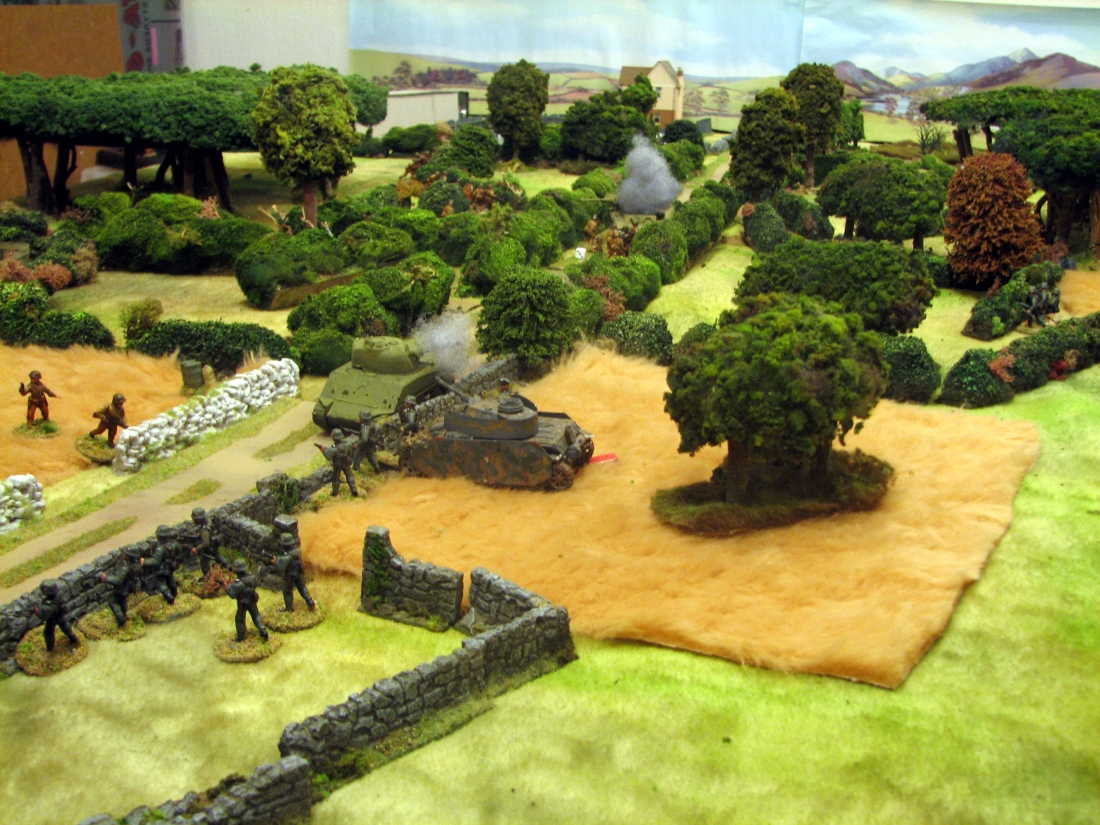
So the Germans won. In rules terms, the US morale had reached its limit and the platoon had to retreat, leaving the Germans the winners.
So, what about Chain of Command, the rules? Shooting, movement combat are all fairly straightforward. Command and control on the table a little more complex but the basic principles will be familiar to many players. A couple of phases should be enought to feel comfortable with them. Patrol, jump-off points and deployment are original ways to create a very satisfactory fog of war. The mechanisms are innovative and take a little getting used to. Dave pointed out that when a unit is deployed from a jump-off point somewhere well away from its own baseline, it didn’t mean they had miraculously landed there from the air. They’d always been there but the deployment was the first time they’d revealed their presence. This is even more important to grasp when dealing with the “ambush” rule. What takes most time, and probably several games, is using the Command Dice and Chain of Command Points to best advantage. The Command dice are used every phase so the basic function of them is quickly grasped. How to get the best out of them takes a little longer. The Chain of Command Points take a while to accrue and are not likely to be used that often so their effective employment – finessing their use as it were – will need to be learned through experience. For example, choosing to use them to end a turn can have a critical effect on the whole game. I think Chain of Command would be a challenge to play with several players but I have an idea that there are suggestions for how to do this somewhere on the internet. I’d like to have several one-to-one games before trying multi-player. edit: It’s been pointed out to me (see comments) that there are multi-player rules on page 102 sidebar. I can feel a “Doh..!” coming on…
I look forward to playing them again, preferably while I can still remember what I learned this time. By the time the game was over and my lads had thrown in the towel, I was beginning to get a reasonable grasp on the system and to realise it was a rules set I’d want to play again.
The multiplayer rules are in the sidebar on page 102.
Damn – I really must read rulebooks! Having said that, we weren’t looking for them in this game. Lazy of me to comment on them without checking properly first. Thanks for pointing it out.
Fun game. Doug didn’t do a lot wrong but was unlucky with the tank duel. Once I had tank superiority the end was inevitable. Do like the abstract nature of the rules. Hate having complete control of every detail.